Christmas Stag 3d Shadow Box
The holiday season is a time for creativity, warmth, and the joy of crafting unique decorations that reflect personal style. Among the myriad of DIY projects available to enthusiasts, the Christmas Stag 3d Shadow Box stands out as a sophisticated yet accessible way to bring festive cheer into any home or workspace. This project combines the elegance of a stag silhouette with the depth and dimensionality of shadow box art, creating a piece that serves not just as decoration, but as a focal point of seasonal interest. Whether you are a seasoned crafter looking for a new challenge or a beginner eager to try your hand at layered paper art, this guide will walk you through everything you need to know about acquiring, preparing, and assembling this stunning design.
Understanding the Digital Asset Package
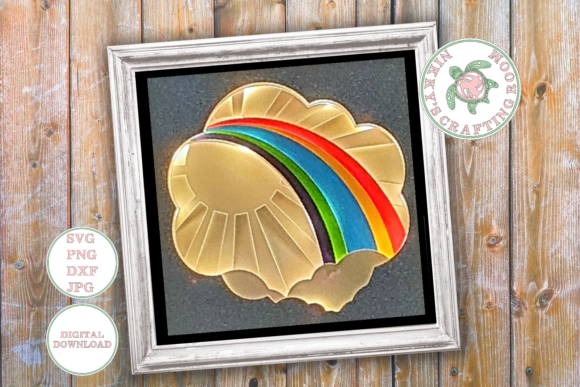
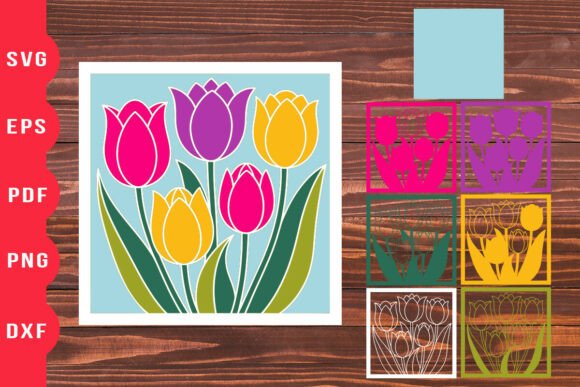
Before diving into the physical assembly, it is crucial to understand the digital foundation of the project. The Christmas Stag 3d Shadow Box is provided as a comprehensive digital package designed to streamline the creation process. When you download the file, you are receiving a zipped archive that contains multiple file formats, including SVG, PNG, DXF, and JPG. This versatility ensures compatibility with various cutting machines and software platforms, making it accessible to users regardless of their specific hardware setup.
The SVG files within this package are particularly noteworthy for their user-friendly organization. They are prepared in a "one-click upload" format, meaning the layers are pre-grouped logically. This structural integrity is vital for maintaining the correct alignment of the stag’s antlers, body, and background elements during the cutting phase. By keeping these layers grouped, you preserve the artistic intent of the designer, ensuring that when the pieces are cut, they fit together seamlessly to create the intended three-dimensional effect.
Technical Best Practices for Resizing
One of the most common questions creators have regarding vector files like SVGs is how to adjust the size without compromising quality or layout. For the Christmas Stag 3d Shadow Box, there is a specific protocol to follow to ensure the best results. It is imperative to keep the layers grouped together while resizing. Most design software allows you to lock the aspect ratio using a padlock icon; however, for this specific project, you should focus on resizing the width only. This method prevents distortion of the delicate details in the stag’s design and maintains the proportional spacing between the layers, which is essential for the shadow box depth.
- Keep Layers Grouped: Never ungroup the layers until after you have finished resizing. Ungrouping prematurely can cause individual elements to shift out of alignment.
- Lock Aspect Ratio (Optional but Recommended): While resizing width is key, locking the height-to-width ratio ensures the stag remains anatomically correct and visually balanced.
- Preview Before Cutting: Always run a preview in your cutting software to check for any overlapping errors or scaling issues before committing material to the blade.
Gathering Your Materials
Creating a high-quality shadow box requires more than just the digital file; it demands a selection of materials that support both durability and aesthetics. The choice of materials will directly influence the final look and longevity of your Christmas Stag 3d Shadow Box. Below is a curated list of essentials recommended for this project.
Cardstock Selection
The backbone of any shadow box is the cardstock. For this project, we recommend using quality cardstock ranging from 180gsm to 300gsm. Lighter papers may curl or warp over time, especially if exposed to humidity or heat from lighting fixtures. Heavier cardstocks provide the necessary rigidity to hold the shape of intricate cuts, such as the fine points of the stag’s antlers. White or off-white cardstock is traditional and offers a clean, crisp contrast, but don’t hesitate to experiment with deep greens, reds, or metallic finishes to add a personalized touch to your holiday decor.
The Frame and Spacers
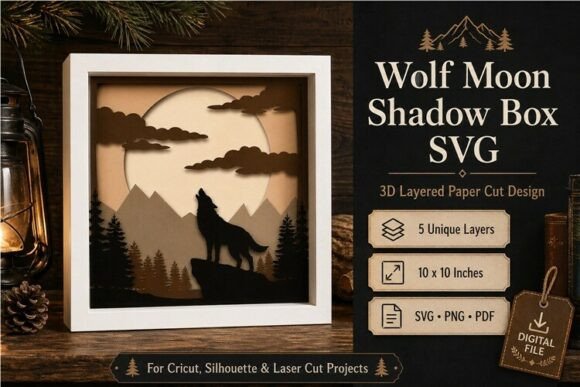
Depth is what transforms a flat image into a shadow box. You will need a deep shadow box frame, and it is advisable to choose one no smaller than 8x8 inches. Smaller frames may not provide enough room for the layering required to achieve the 3D effect, resulting in a cramped appearance. To create distinct layers, you will need spacers. These can be purchased specifically for shadow boxes or improvised using foam board strips or even folded pieces of cardstock. The number of spacer layers determines the distance between each cutout, influencing how light casts shadows and how much depth is perceived by the viewer.
Lighting Options
A defining feature of modern shadow boxes is the integration of light. You can assemble the Christmas Stag 3d Shadow Box with or without lights, depending on your preference. A lit version adds a magical, glowing quality to the stag, highlighting the contours of the design. If you opt for illumination, LED fairy lights are the ideal choice. Unlike incandescent bulbs, LEDs emit very little heat, reducing the risk of warping your cardstock or damaging the adhesive bonds. Ensure the lights are battery-operated and compact enough to fit discreetly behind the rearmost layer.
Adhesives
Glue is the unsung hero of this project. A glue gun with plenty of glue sticks is highly recommended for its quick drying time and strong bond. Hot glue allows you to position spacers and adhere layers quickly without the mess of liquid adhesives. However, be mindful of the amount of glue used; excessive glue can seep through porous cardstock and create visible blobs that distract from the clean lines of the design.
Assembly Process: Building Dimension
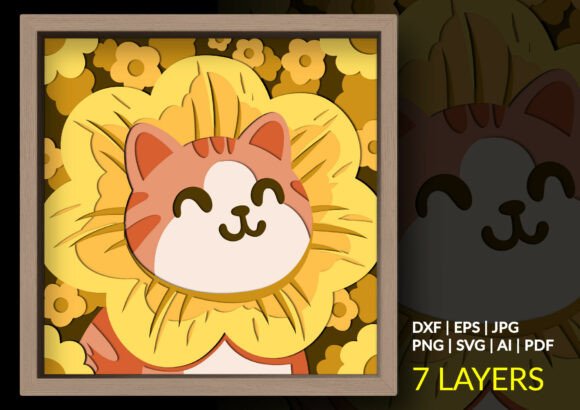
Assembling the Christmas Stag 3d Shadow Box is a meditative process that rewards patience. Start by laying out all your cut pieces in order. Typically, the design consists of multiple layers, starting with the background, followed by mid-ground elements, and finally the foreground stag silhouette. Place the first layer at the back of the frame. Add your chosen spacers around the edges or strategically placed in the center to maintain separation. Then, carefully apply glue to the back of the next layer and press it onto the spacers.
Continue this process for each subsequent layer. As you build up the stack, step back frequently to check the alignment. The beauty of the grouped SVG structure becomes apparent here, as the layers naturally align if cut correctly. Once all layers are adhered, insert the LED fairy lights if you are using them. Arrange the wires neatly along the back edge so they are hidden from view. Finally, place the backing board and secure the frame. The result is a multi-dimensional artwork that catches the eye from every angle.
Applications and Versatility
The utility of the Christmas Stag 3d Shadow Box extends beyond mere holiday decoration. Its elegant design makes it suitable for various settings and occasions. In a home environment, it serves as an excellent centerpiece for a mantelpiece, a shelf display, or a dining table. The neutral yet festive theme of a stag appeals to a broad audience, making it a safe yet stylish choice for guests who appreciate subtle holiday decor rather than overtly themed clutter.
For business owners, particularly those in retail, hospitality, or creative industries, this shadow box can be a powerful tool for window displays or interior branding. It conveys a sense of craftsmanship and attention to detail, qualities that resonate with customers. Furthermore, because the digital file allows for easy resizing and customization, creators can produce these boxes in bulk for sale at craft fairs, online marketplaces, or local boutiques. The low cost of materials combined with the high perceived value of handmade art makes this a potentially profitable venture for small business owners.
Evaluating Suitability and Considerations
While the Christmas Stag 3d Shadow Box is a rewarding project, it is important to assess whether it fits your current skill level and resources. If you are new to using cutting machines, take time to familiarize yourself with your device’s settings for different paper weights. Test cuts on scrap paper are always advisable before working with your final materials. Additionally, consider the space where the shadow box will be displayed. Ensure there is adequate lighting in the room to complement the piece, especially if you plan to use internal LEDs.
Another consideration is the lifespan of the materials. Cardstock is susceptible to fading if exposed to direct sunlight for prolonged periods. Therefore, avoid hanging the shadow box in windows where it will receive intense, direct UV rays. Instead, choose well-lit areas with indirect natural light or rely on artificial lighting to showcase the depth and texture of the layers.
Conclusion
The Christmas Stag 3d Shadow Box represents a perfect intersection of digital convenience and tactile creativity. By leveraging well-organized SVG files and combining them with quality materials like heavy cardstock and LED lights, you can create a lasting piece of art that enhances your holiday atmosphere. Whether you are crafting for personal enjoyment, gifting to loved ones, or building a portfolio for your creative business, this project offers a fulfilling experience. With careful preparation, precise assembly, and a touch of personal flair, your stag shadow box will stand as a testament to the joy of making something beautiful with your own hands.